
I am a new homeowner, and going from a 700 sq foot apartment to a 2700 Sq foot house is a drastic difference. I have a lot of stuff, but not enough to fill this house. Plus I would like to get rid of a lot of stuff I saved"in case" for when we finally got a house. I am however glad I did not get rid of this box of old frumpy frames. A friend game me 2 chairs a few years back that are unique but have never been my style. Well the good news is, I learned how to take the unique frame of this and make it my style. I decided to make the one chair I am puting in my front living room the focal point, and planned my designing around this. I will post the chair at a later time since I am not finished with it. I have the beautiful material I am reupholstering it with. The material's colors are white gray, yellow, and black. I decided red would look awesome in there too. So with this in mind. I looked at the bare walls in our newley painted Living room and knew I needed to get cracking on what to put on those walls.

Being new home owners, we are on a pretty tight budget and a lot of frames are quite expensive, especially when you want a few of differnt sizes and colors. So I looked in my box of old frames. There were two sets of frames that were connected with those little claw brackets you see to the left. I removed those and had 4 usable frames. I played around with the design I wanted on my living room floor. then decided on the colors. Ever since I learned about glazing from Brooke at
All Things thrify, I have been obsessed. I decided in sticking with the colors in my chair, that I am designing the whole room around, that I should do the frames in black, gray, yellow, and a red one to make it pop. So Iprimed the ones that needed it with an adhesion primer, since I didn't feel like sanding that many frames, and spray painted them.

After a few coats of paint and drying, I then used black glaze on the gray and yellow ones to give them an antiqued feel. I absolutely love the way they turned out. I was so proud of myself for being so bold as to use the yellow. My husband cringed at first like "um are you sure about that"... but I am happy about my bold desicion. I think once My living room is finally complete and all the pieces have been found and are placed it will look even more amazing. I will have to do a different post, and show how they look on the wall with our pictures. I spent about 14 hours on photoshop getting all the pictures together and editing and adding effects to them for all the frames I had piled in my living room. I will have to show more of my picture and frame projects a different time. but for now here is what the end result was.

These bottom ones are the ones we have on the opposite wall of our yellow frames. Husband has a burgandy framed picture of the Boston Temple, that is just beautiful that I wanted to kind of frame with our wedding pictures. I used the gray and black ones you see above in the design on either side of the Temple pic. The red one is an accent frame I want to place on an entry table that I have yet to find. Still on the hunt, I know what I want for this room but have yet to find just the right peice.

These are the yellow, gray and black ones and they layout of how I placed them on the wall.

Here is a close up of the detail on the 11.5 by 14 yellow frames. I LOVE them. I can't say that every chance I am inclined to take will turn out like these but I am definatly happy with them.

Okay well this should have been at the top I guess here is a before on some of the frames.


 p, and spray painted it.
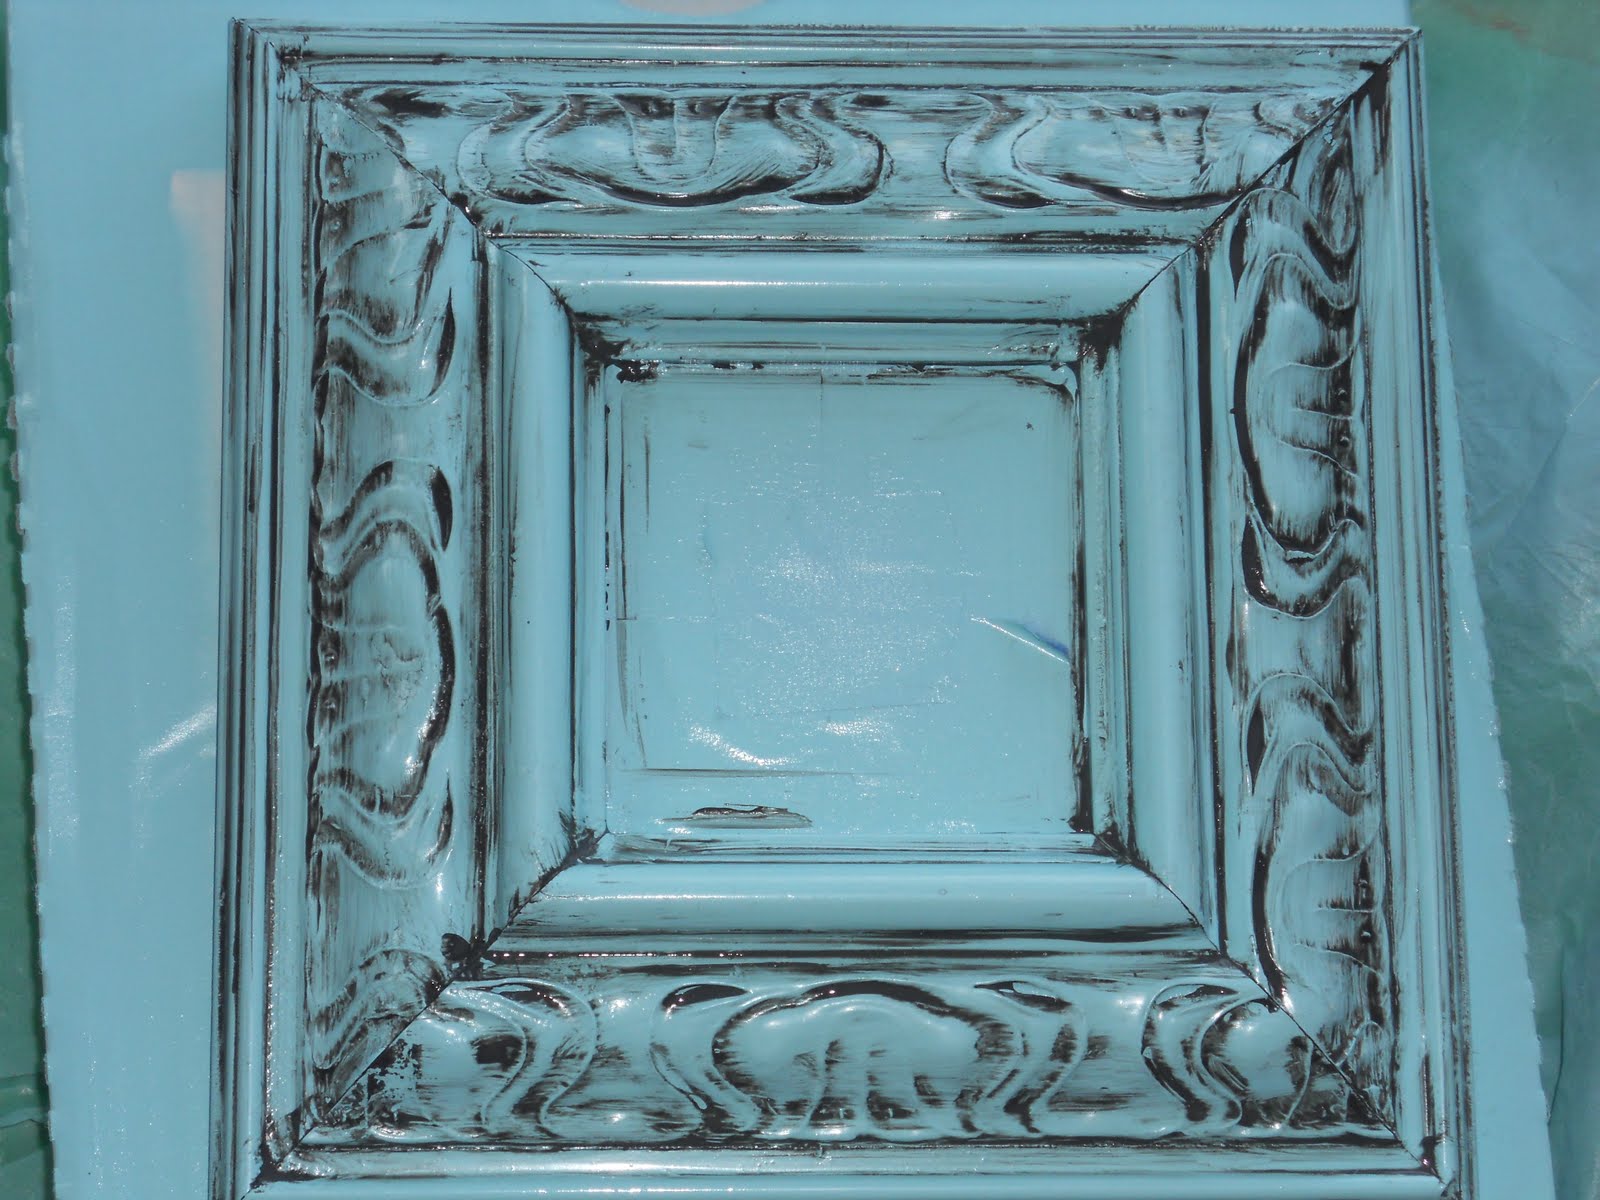 This is after I coated the whole thing and was waiting for it to dry.


 stained the inside of the drawers. I lightly sanded the imperfections and raised areas on the nigthstand, and since the materials were kind of a shiney vinear type, I had to use a adhesion primer to help the spraypaint stick and not just bead up and roll off. I rolled on two coats of adhesion primer then two coats of satin black spray paint. Then I added the newley spray painted knobs to the nightstand. I reall love how it turned out. An inexpensive find, that I was able to transform into what I needed for very little. only the cost of spray paint. (I already had the primer)